How to Choose Open Kitchen Shelves:Wood, Depth and Brackets
Some links on this page may be affiliate links. If you buy through one, we may earn a small commission at no extra cost to you. Images are AI-generated illustrations of ideas, not photos of the products.
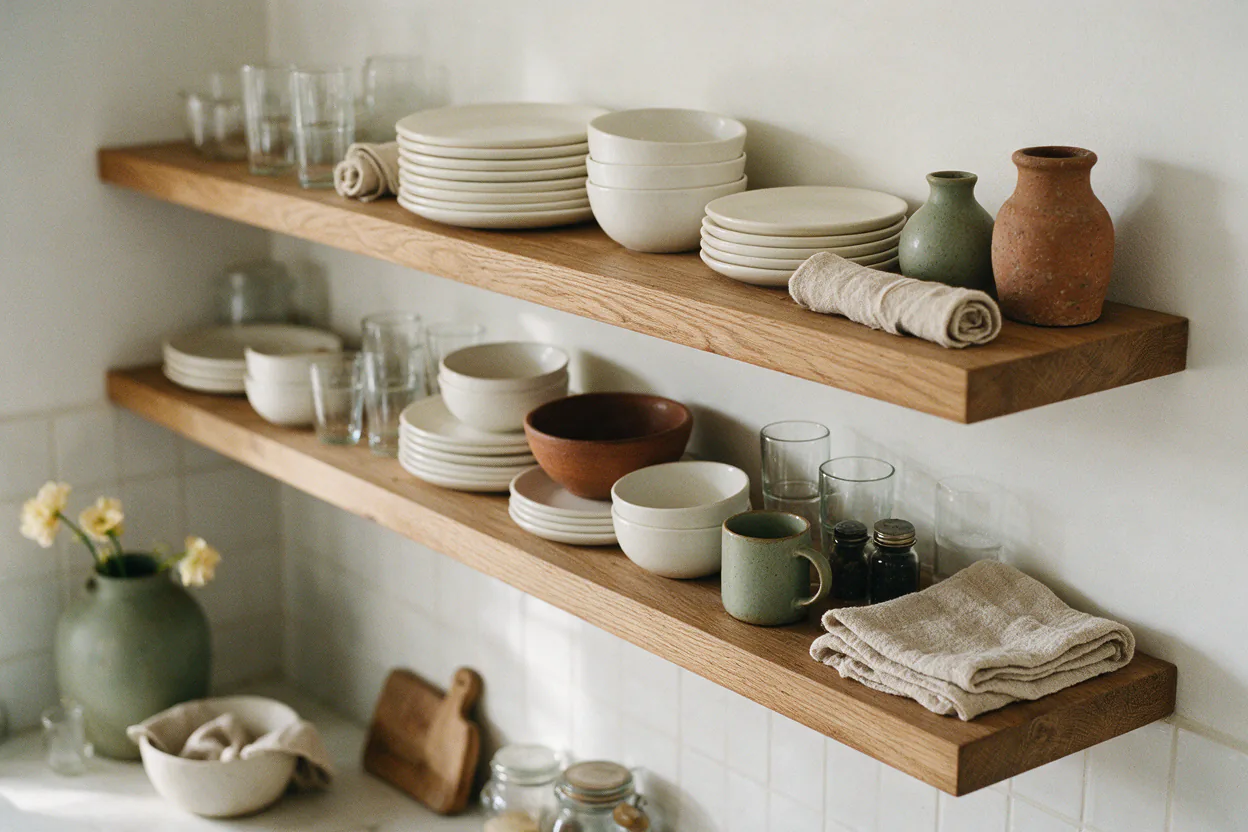
Open shelves can make a kitchen feel lighter and more personal. They can also sag, gather grease or end up too shallow for a plate. Most of those problems come down to a few choices made before the shelves go up. Here is what to think about, in order.
1Decide what the shelves will hold
Start with the job, not the look. Shelves for everyday plates and bowls need to be deeper and stronger than shelves for a few cups and a plant. Make a quick list of what you plan to store. Heavy stacks of dishes point to thick boards and solid brackets.
2Get the depth right
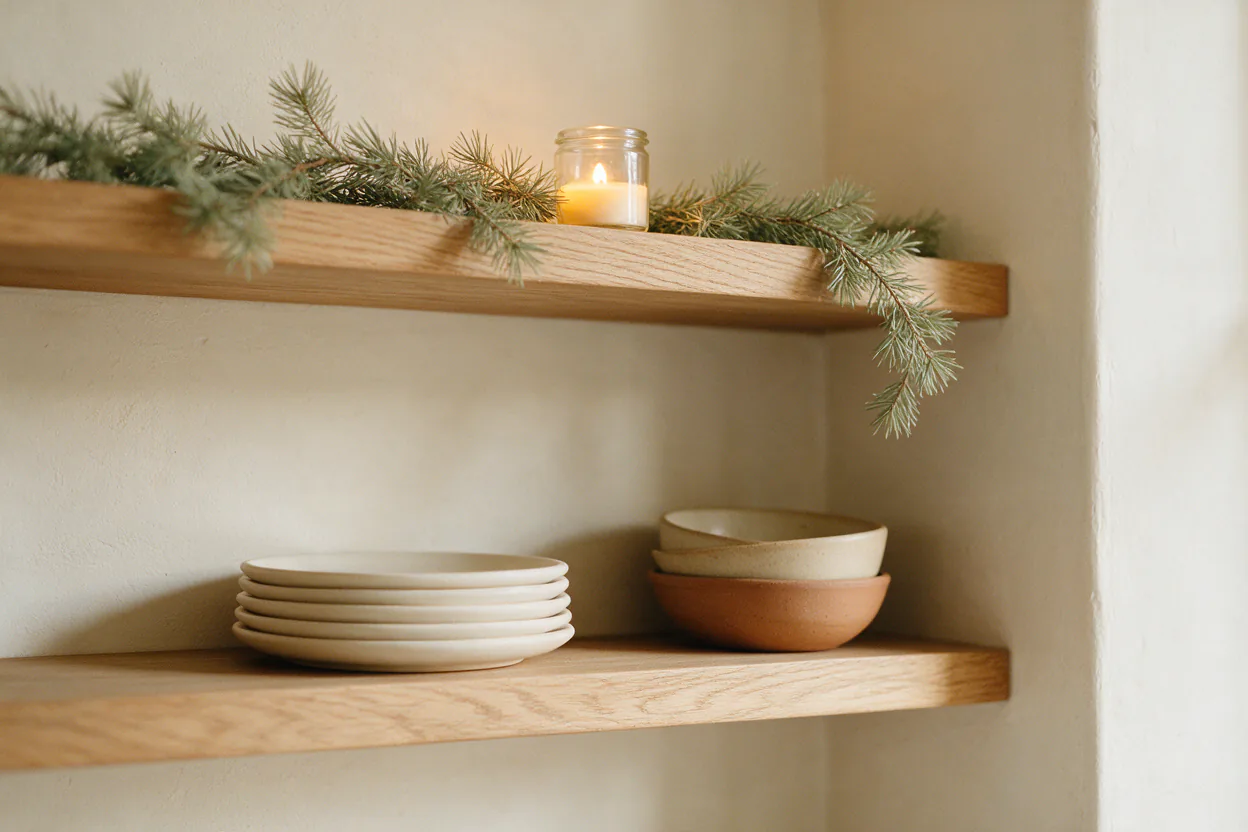
Most dinner plates are 10 to 11 inches across, so a shelf for plates should be about 10 to 12 inches deep. For mugs, glasses and jars, 8 to 10 inches is enough. Shelves deeper than 12 inches tend to become dark storage at the back, where things are forgotten.
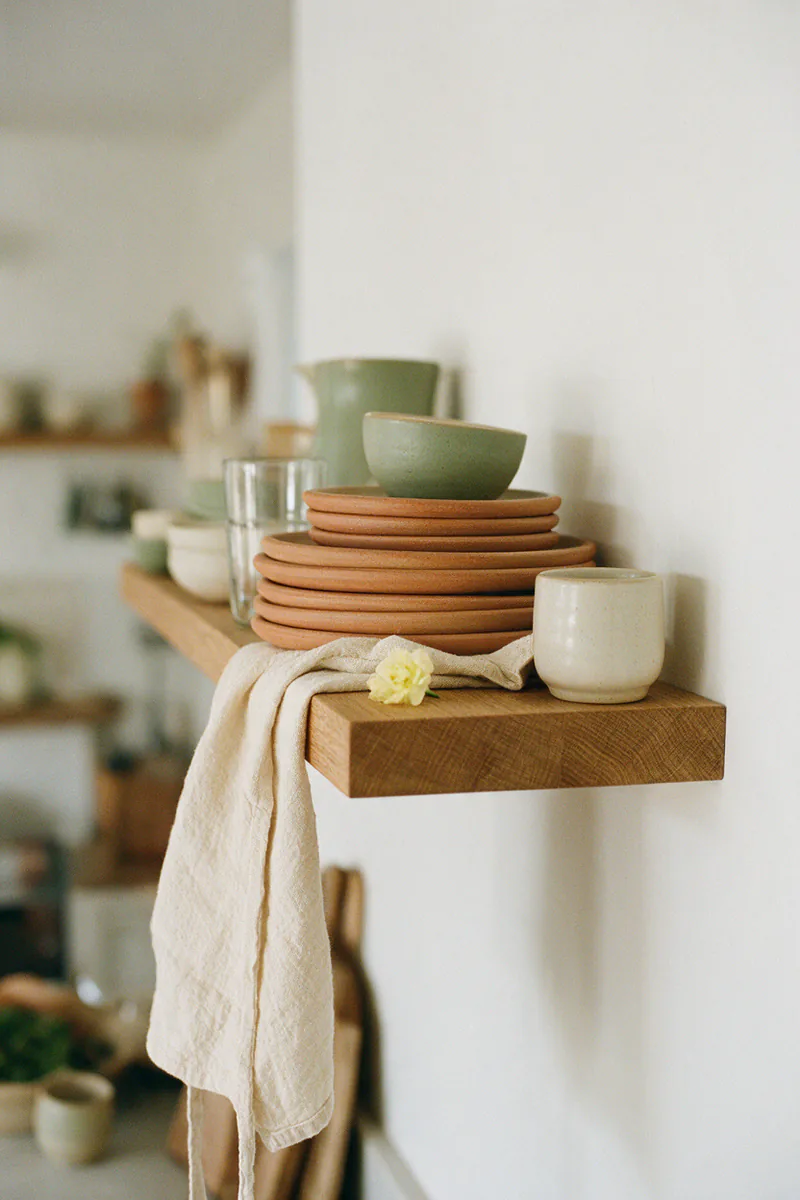
3Choose a board thick enough
A board about 1.5 inches thick looks solid and resists sagging. Thinner boards work for short spans and light things. As a rule, the longer the shelf and the heavier the load, the thicker the board should be, or the closer together the supports.
4Pick a wood that suits a kitchen
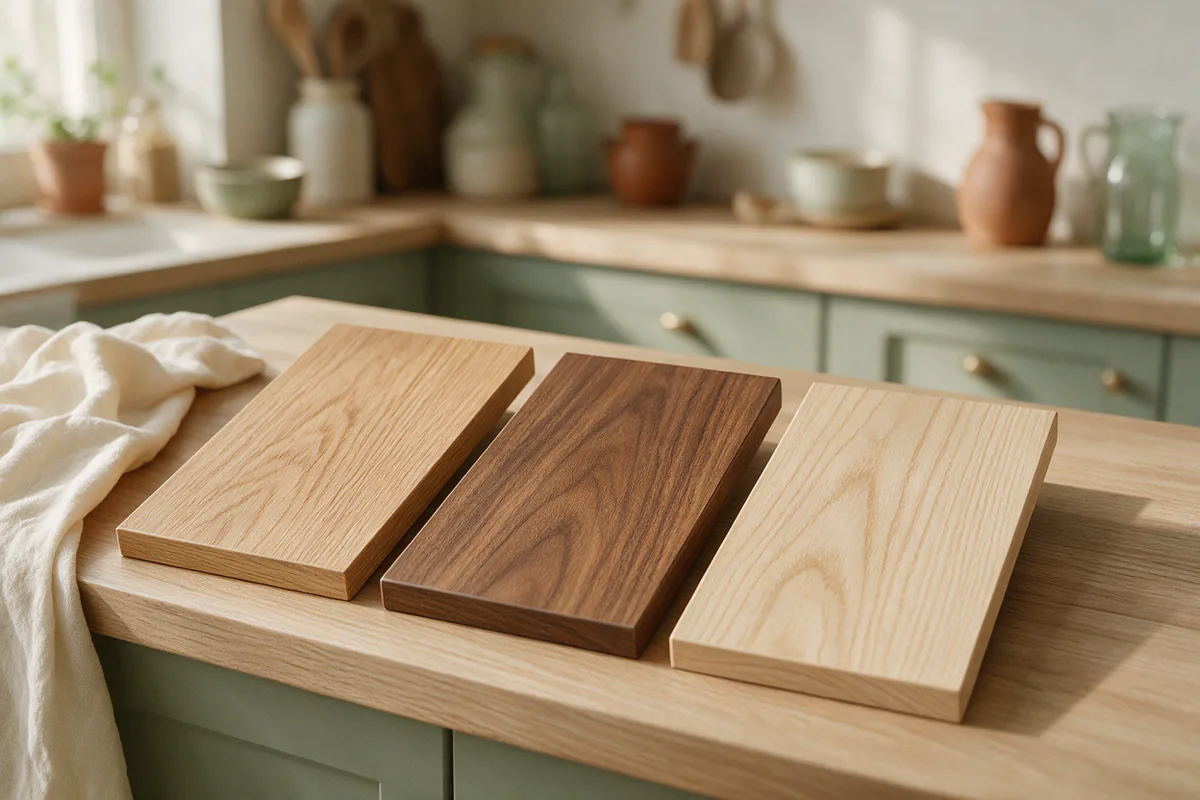
Oak is strong, affordable and handles daily use well. Walnut is darker and warmer but shows dust more. Ash and maple are pale and hard-wearing. Whatever you choose, seal it with a food-safe oil or a matte finish so splashes wipe off easily.
5Plan the spacing between shelves
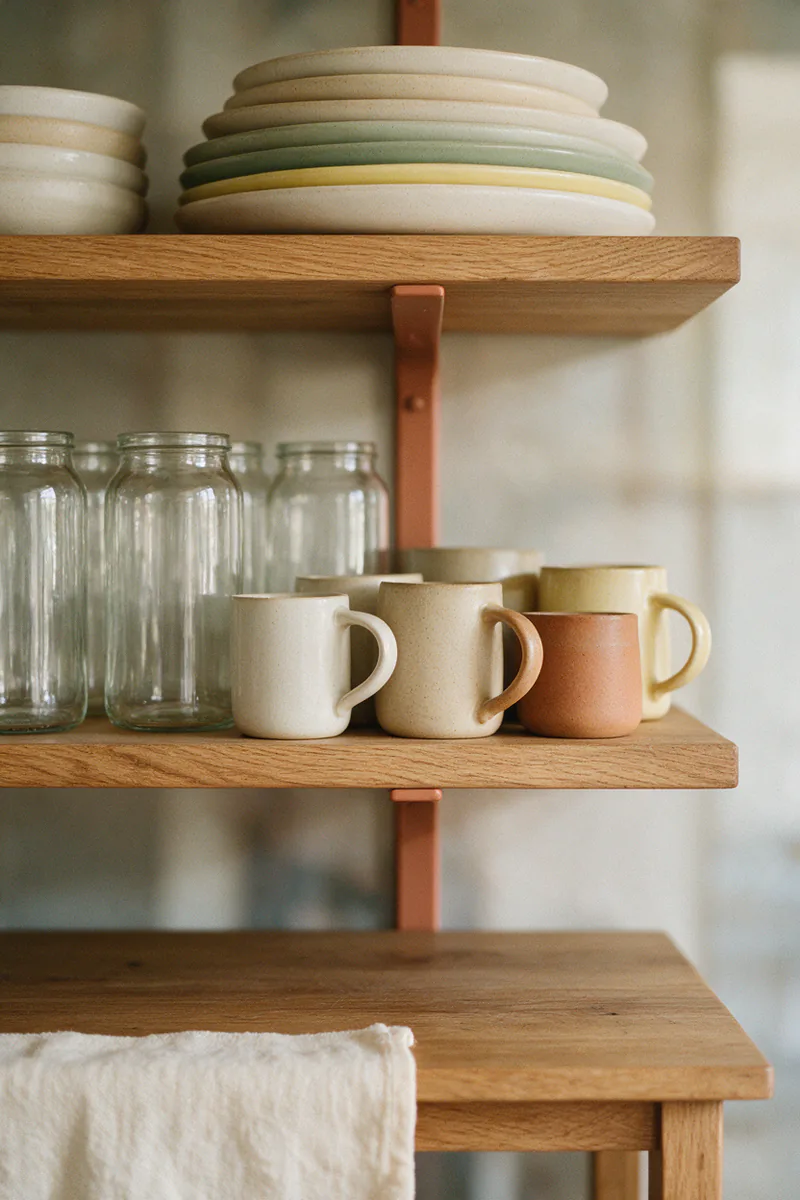
Leave about 12 to 15 inches between shelves so you can lift a stack of plates out without bumping the shelf above. Keep the lowest shelf at least 18 inches above the counter, so it does not get in the way of cooking or small appliances.
6Choose brackets for the load
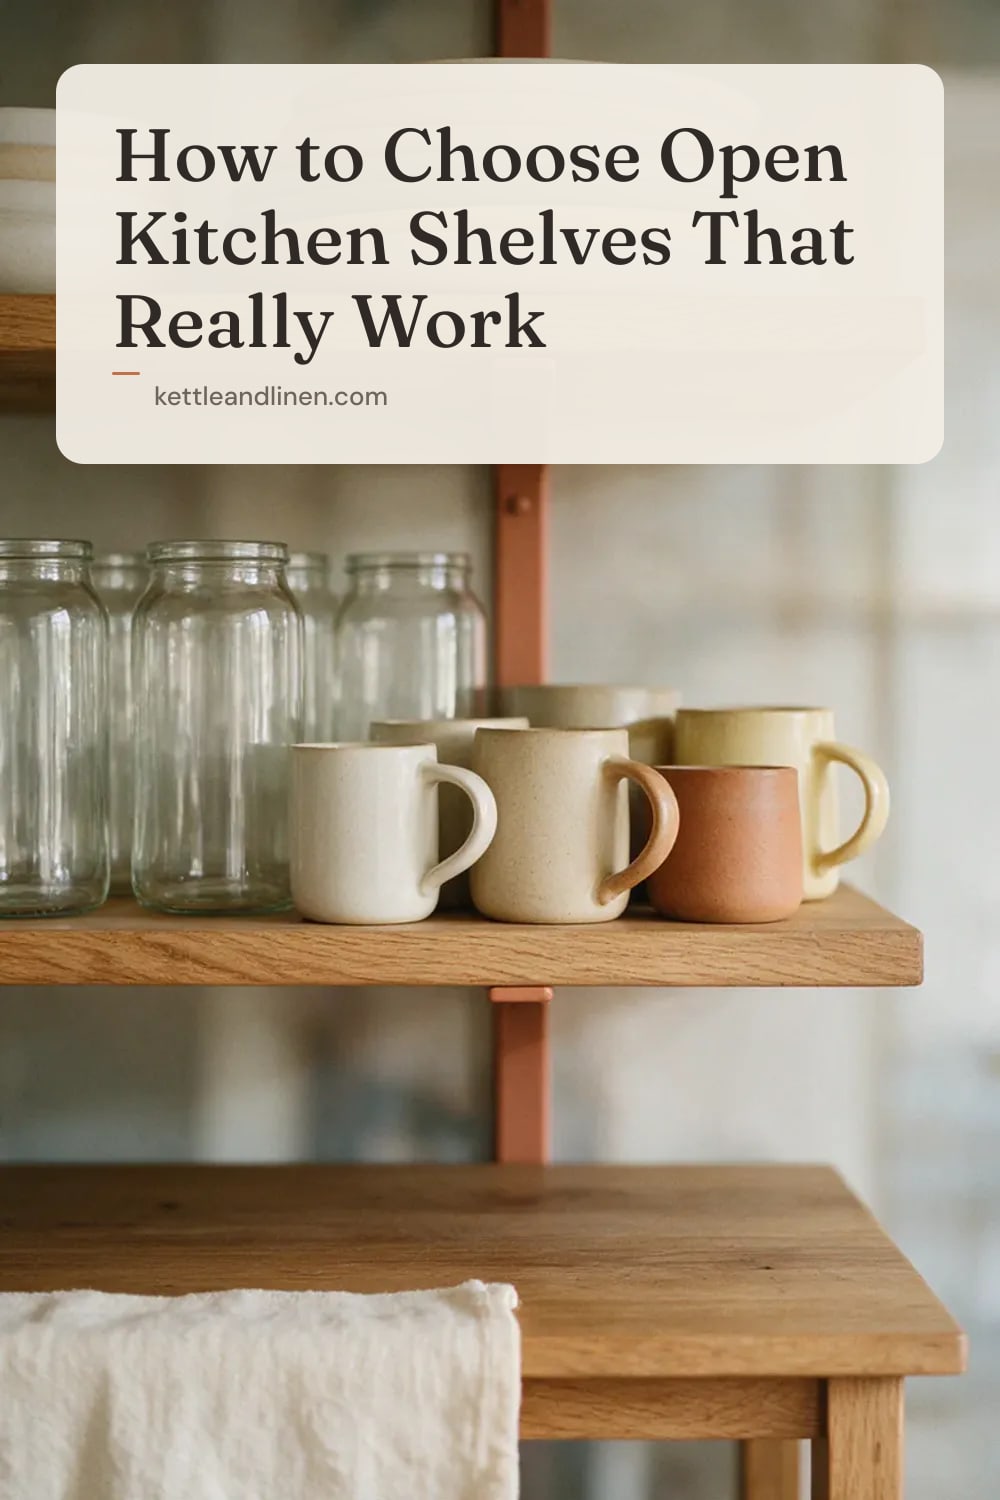
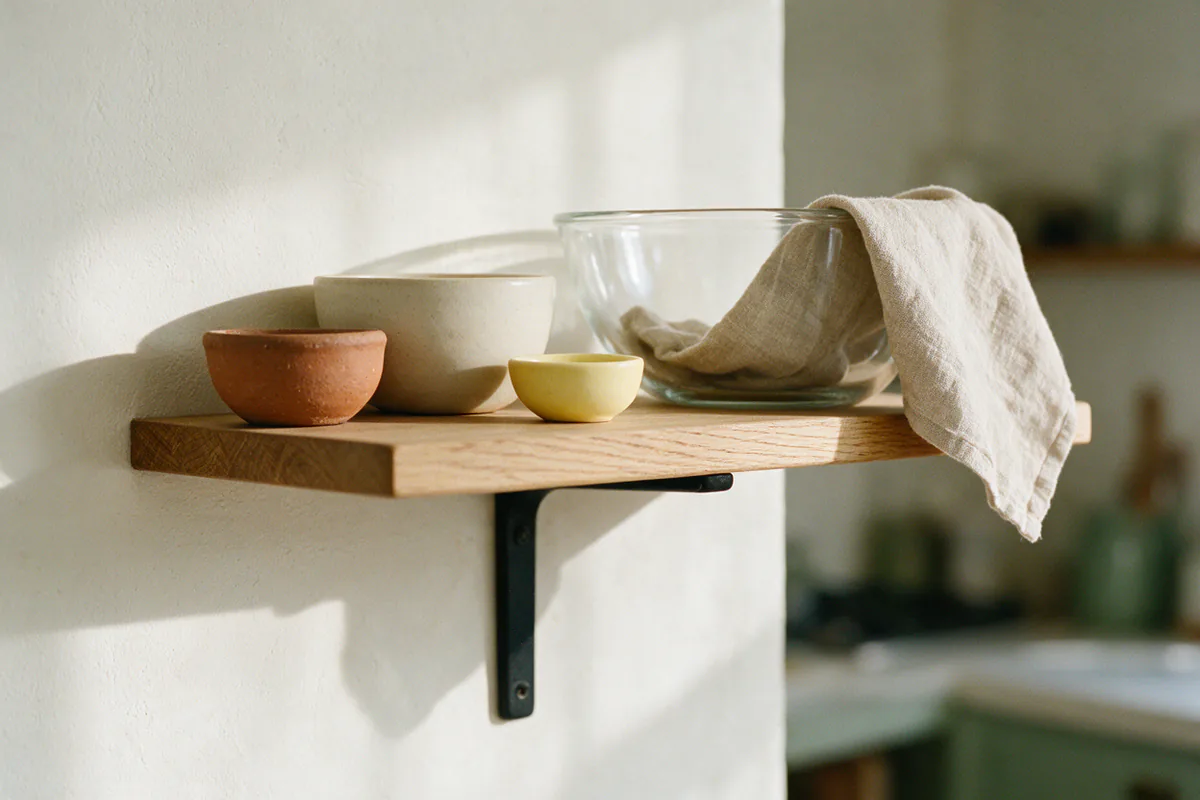
Visible brackets are the sturdiest option and easy to install. Simple metal brackets suit most kitchens, while wooden ones feel softer. Space them about every 16 inches, into wall studs where possible. Check the weight rating and choose brackets well above what you plan to store.
7Know the limits of floating shelves
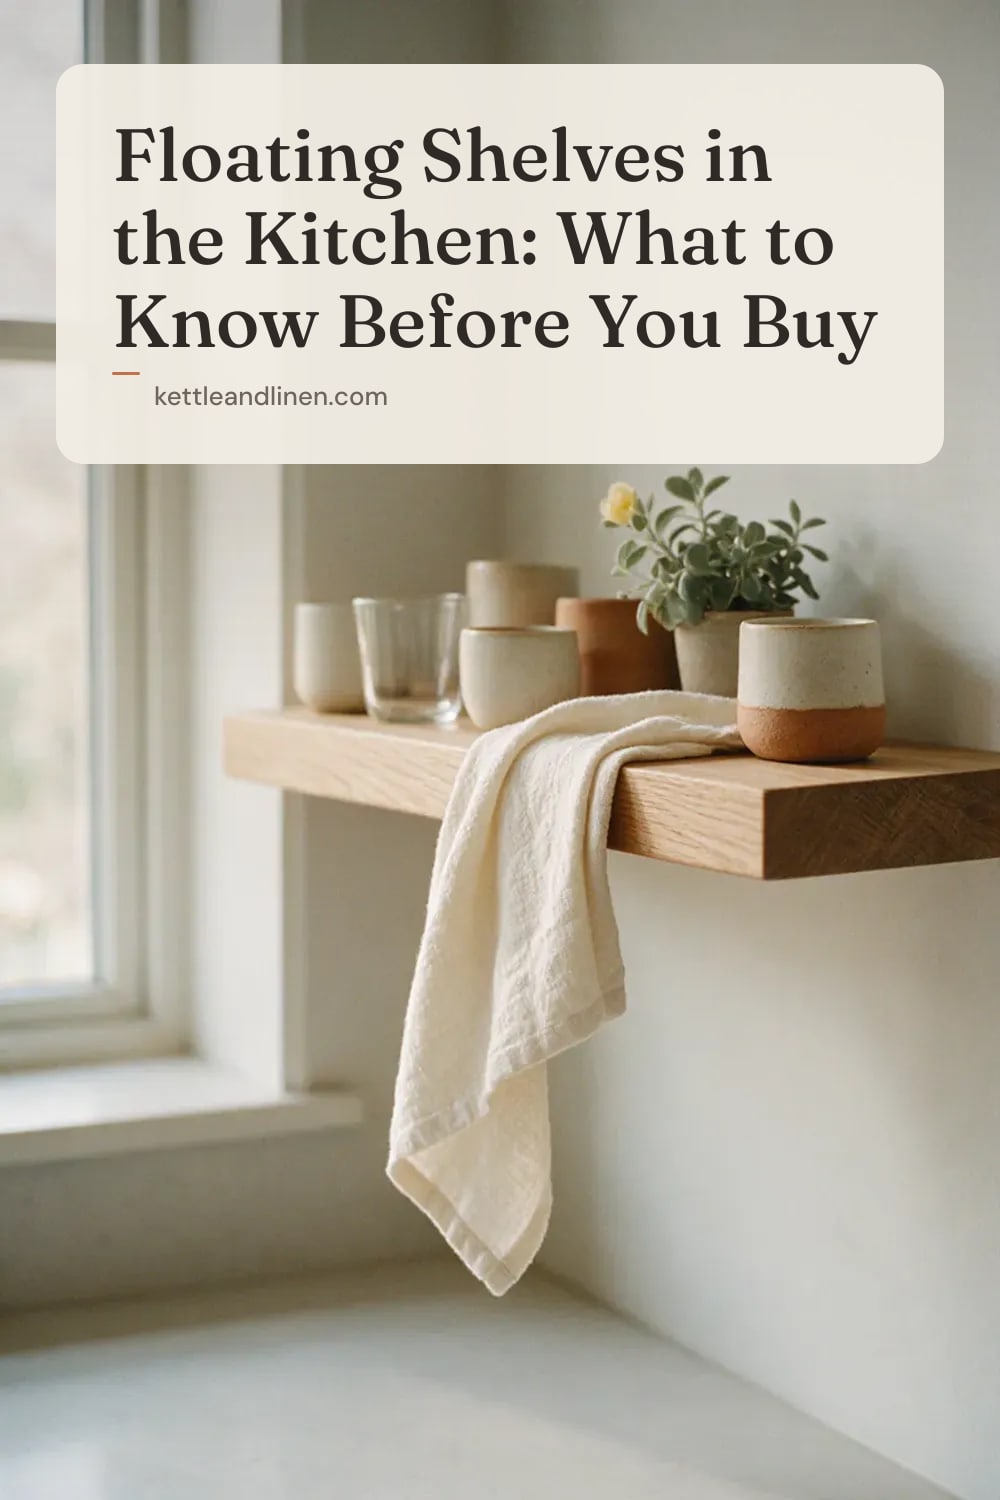
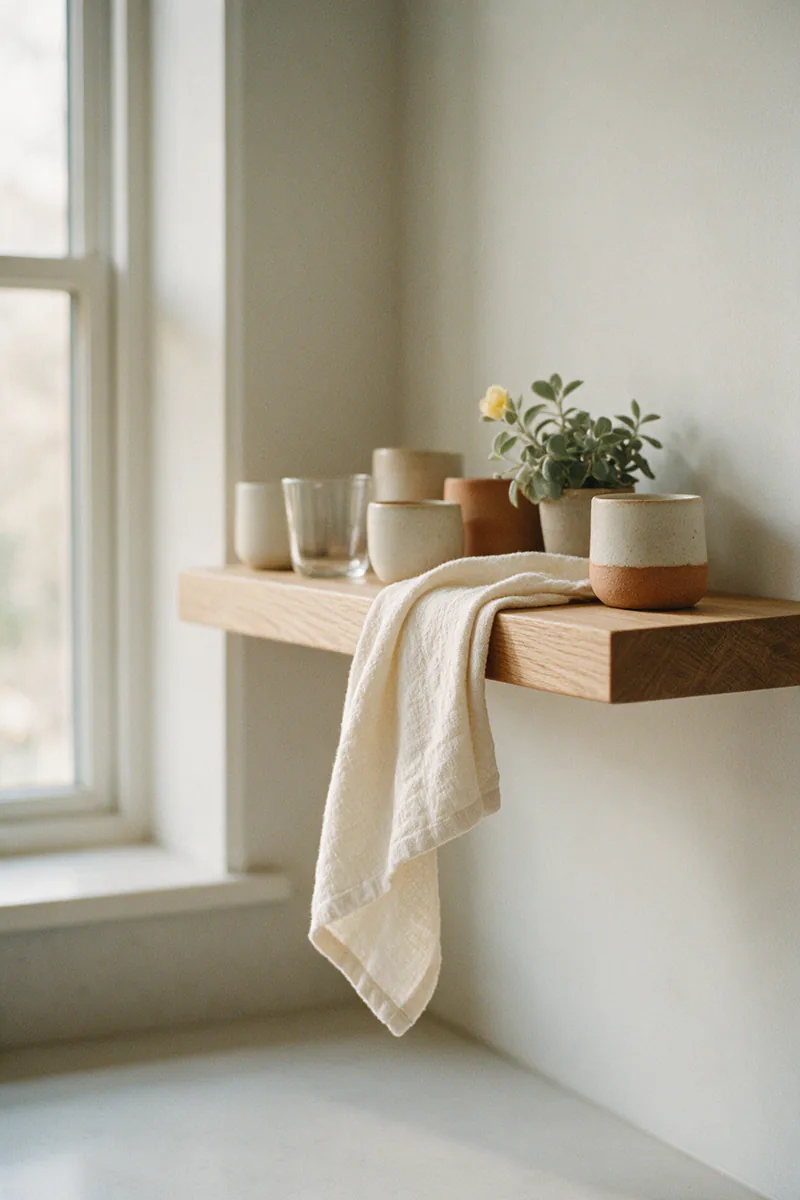
Floating shelves look clean because the support is hidden inside the board. They need a strong steel rod system fixed into studs or solid masonry. They are lovely for cups, glasses and a few bowls, but for heavy plates, brackets are the safer choice.
8Mind the stove and the sink
Grease and steam settle on anything near the stove. Keep shelves at least a short step to the side of the cooktop, or plan to wash what sits there more often. Near the sink, a well-sealed board will last much longer than a raw one.
How to start
Measure your wall and your largest plate. Mark where the studs are and where the shelves would sit. Tape the outline on the wall and live with it for a day or two. If it still feels right, you are ready to choose the wood and brackets.
Save it for later
Pin one of these to come back to the ideas when you need them.